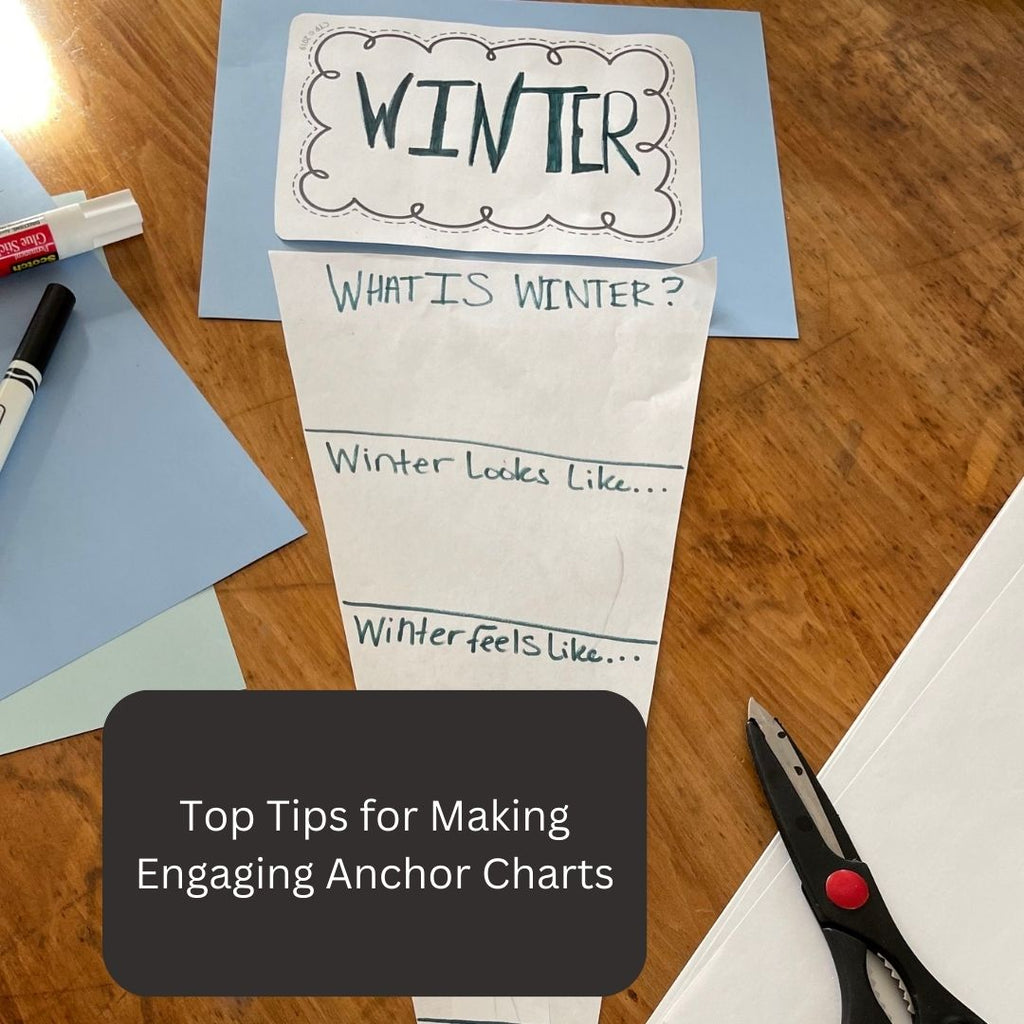
Sandy from The Apple Tree has been inspired by Chevron Décor and got creative with it. She decided to make a Chevron Pumpkin by using a CTP’s Orange Chevron Border, a single hole punch, pipe cleaners, green paper and 2 brads.
Here’s how Sandy created these fabulous pumpkins:
Use the Orange Chevron Borders for your pumpkins. For different size pumpkins, cut the borders to size. Cut leaves from the green paper. *Tip: laminate the borders so the strips will be stiffer. Then, use the hole punch to punch holes about ¼ inch away from the edge of the borders. Punch a hole in the leave’s stem.
After you have your borders and leaves, attach all strips at one end with a brad. Then fan out the borders to create a circle. Finally, pull the strips up to the center and attach each one with another brad to make the circle meet. Repeated for other sized pumpkins.
Finally, enjoy your Chevron Pumpkin all through the fall season!
3 comments
Sandy,
Amazing! Such a fun day!! Thanks for sharing!
It looks like you both had a fun day!
[…] around with our products to see what fun things we can create. As you’ve seen in our “How To Create A Chevron Pumpkin” post, we like thinking outside the box! We are going to show you how to create a bow out of […]